Are you tired of grappling with unreliable solar pump inverters that just can’t withstand harsh environmental conditions? Do you find yourself scratching your head, wondering how to properly connect your solar pump inverter for optimal performance? You’re not alone.
Good news! Connecting a solar pump inverter is not as complicated as it seems. With the right guidance and high-quality products, you can set up a robust and efficient system in no time.
Let’s dive right in, shall we? I promise, by the end of this post, you’ll be a pro at connecting solar pump inverters.

What Tools Do You Need for the Installation?
Before you start, make sure you have all the necessary tools. You’ll need a screwdriver, wire strippers, and a multimeter. Don’t skimp on quality; a good set of tools can make all the difference.

Why is Proper Connection Important?
A poorly connected solar pump inverter can lead to inefficiencies and even system failures. According to market feedback, improper connections are a leading cause of system breakdowns. So, it’s crucial to get it right the first time.
How Do You Prepare the Solar Panels?
First, make sure your solar panels are clean and positioned to capture maximum sunlight. Connect the panels in series or parallel, depending on your system’s requirements. For more on this, check out our solar panel choose.

How Do You Connect the DC Input?
Once the solar panels are ready, it’s time to connect the DC input to the solar pump inverter. Use the multimeter to check the voltage and ensure it matches the inverter’s specifications. Connect the positive and negative wires to the respective terminals.

What About the AC Output?
After securing the DC input, move on to the AC output. This is where you connect the inverter to the pump. Make sure to follow the color coding: brown for live, blue for neutral, and green/yellow for ground.
How Do You Test the System?
Before you celebrate, test the system to ensure everything is working as it should. Use the multimeter to check the AC output. If the readings are within the acceptable range, you’re good to go.

What Are Some Common Mistakes to Avoid?
Avoid using mismatched wire sizes and make sure all connections are tight. Loose connections can lead to inefficiencies and are a common cause of system failures, as highlighted in this system .
Conclusion
Connecting a solar pump inverter doesn’t have to be a daunting task. With the right tools and guidance, you can set up a reliable and efficient system that stands the test of time.
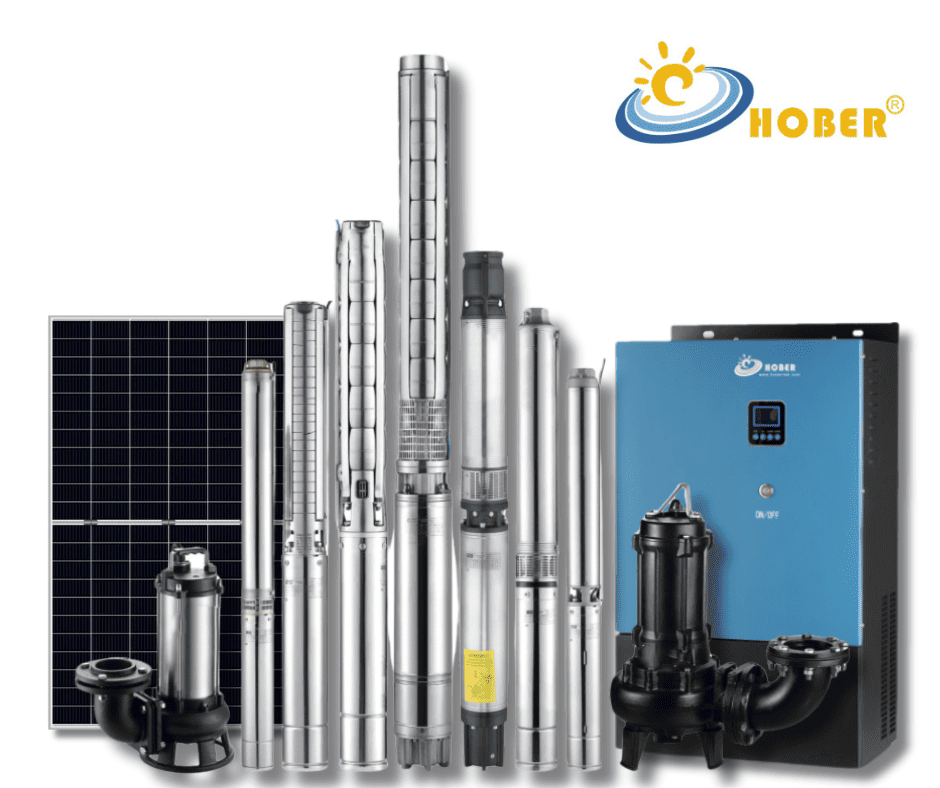
So, what are you waiting for? Elevate your solar pump game with high-quality inverters from Hobertek. We offer the latest technology, excellent sales and after-sales service, and fast delivery. Plus, we’re always here to provide technical support and training.
Ready to make the switch to reliability and efficiency? Contact us today and let’s make your solar dreams a reality.