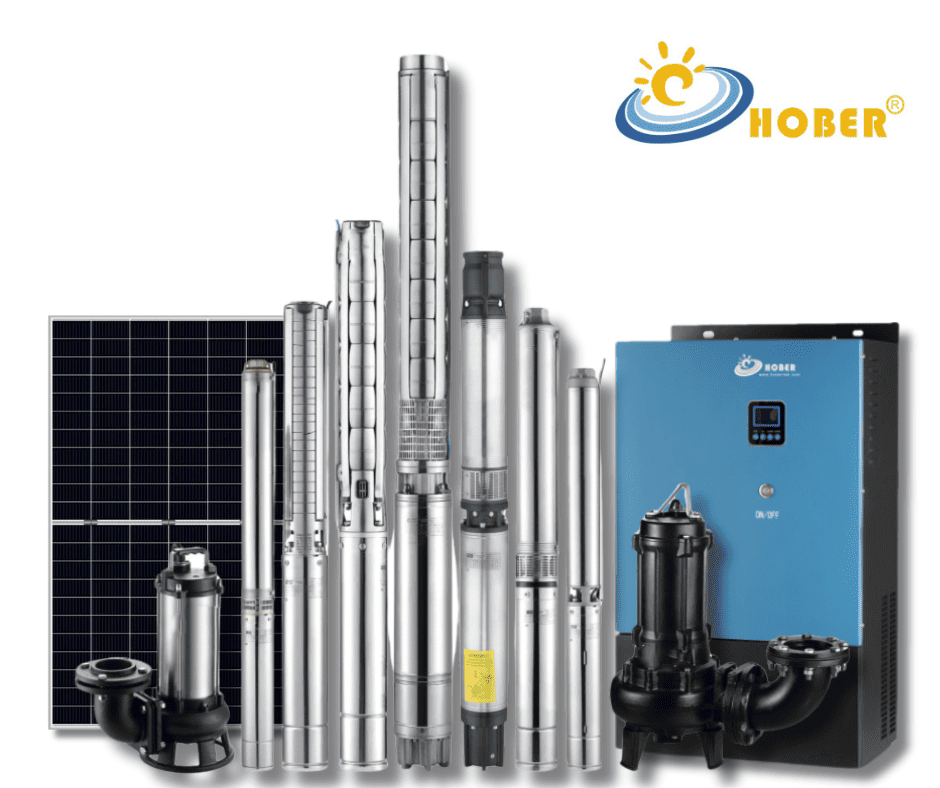
Solar pump inverters are essential for harnessing solar energy to power water pumps, but improper installation can lead to inefficiencies and system failures. This guide provides a comprehensive step-by-step process to ensure your solar pump inverter is installed correctly and efficiently.
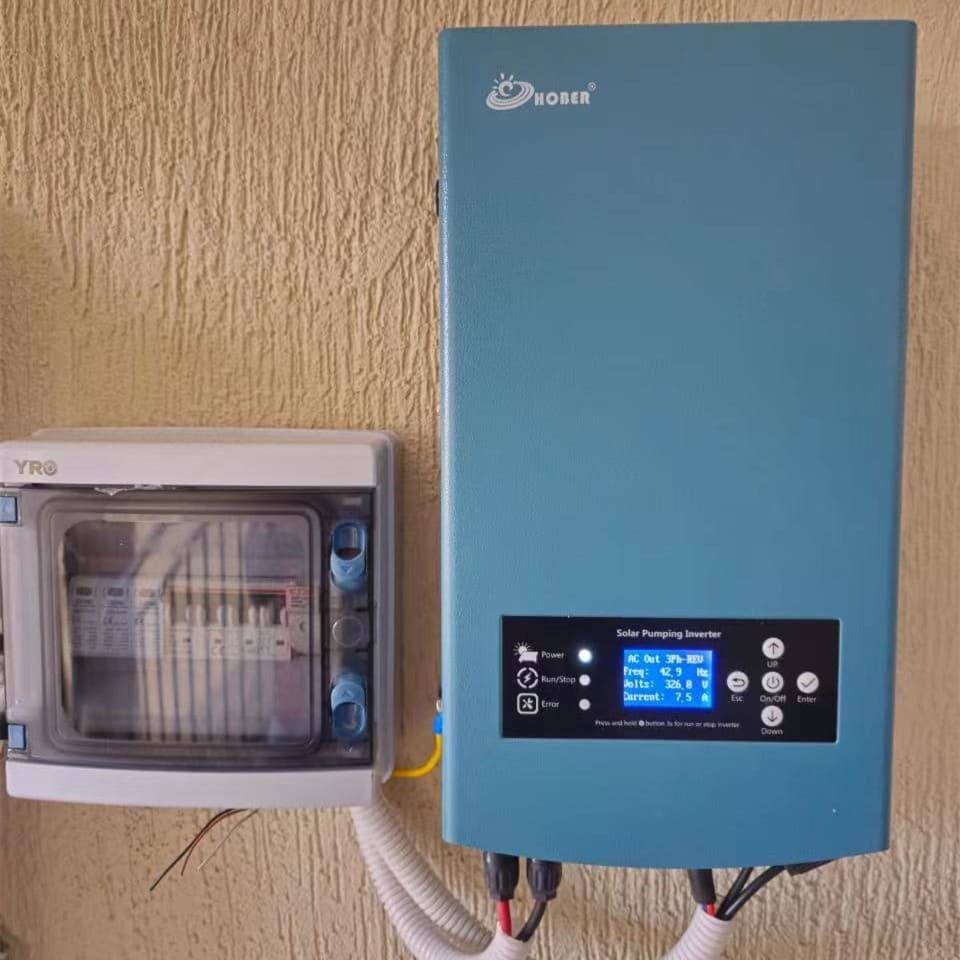
To install a solar pump inverter, first ensure the installation environment is well-ventilated and free from direct sunlight. Mount the inverter on a wall or support structure, connect the DC and AC inputs, and follow the wiring instructions for the specific model. Always adhere to safety guidelines to avoid electric shock and equipment damage.

Proper installation not only guarantees optimal performance but also extends the lifespan of your solar pump inverter. Let’s delve into the detailed steps.

Preparation and Safety Measures
- Importance of Ventilation
- The installation environment must be well-ventilated to prevent overheating and ensure efficient cooling of the inverter. Poor ventilation can cause equipment damage and performance degradation. Ensure that there is sufficient space around the inverter for air circulation. The installation site should not be enclosed or cramped.
- Avoiding Direct Sunlight
- Direct sunlight on the inverter can reduce its heat dissipation performance, negatively affecting its efficiency and lifespan. Choose a shaded or indoor location for installation. Consider installing a protective canopy or shade structure if the inverter must be placed outdoors.
- Necessary Tools and Safety Gear
- Gather all necessary tools, including screwdrivers, wire strippers, pliers, and a multimeter. Ensure you have appropriate safety gear such as insulated gloves, safety goggles, and non-conductive footwear. A toolkit specifically designed for electrical work can enhance safety and efficiency.
- Safety Precautions
- Before starting the installation, turn off all power sources. Ensure that all wires connected to the device are wrapped with electrical tape for safety. Do not disassemble the device or touch internal parts without professional guidance. Adhere to all safety protocols outlined in the user manual and local electrical codes.
Mounting the Inverter
- Choosing the Right Location
- Select a vertical surface like a wall or a sturdy support structure. The installation height should be over 1.1 meters from the ground to ensure proper air circulation. The location should be easily accessible for maintenance and inspections but secure from tampering and physical damage.
- Step-by-Step Mounting Process
- Mark the Mounting Points: Use a level to ensure the inverter will be mounted straight. Mark the screw holes on the wall or support structure.
- Drill Holes: Use a drill to create holes at the marked points. Ensure the holes are deep enough to securely hold the mounting screws.
- Insert Anchors: If mounting on a wall, insert wall anchors into the drilled holes to provide extra support.
- Attach the Bracket: If the inverter comes with a mounting bracket, attach it to the wall using the screws provided. Ensure the bracket is level and secure.
- Mount the Inverter: Lift the inverter and carefully place it onto the mounting bracket. Secure it with screws, making sure it is firmly attached and stable.
- Securing the Inverter
- Double-check that the inverter is securely mounted and does not move or vibrate. Tighten any loose screws and ensure the inverter is level. Proper mounting prevents vibrations and potential damage to internal components.

Electrical Connections
- Connecting the DC Input
- Identify the DC Terminals: Locate the DC input terminals on the inverter, usually labeled as positive (+) and negative (-).
- Prepare the DC Wires: Strip the ends of the DC wires from the solar panels to expose the conductive material. Ensure the wires are of the appropriate gauge to handle the current.
- Connect the Wires: Attach the positive wire from the solar panels to the positive terminal on the inverter and the negative wire to the negative terminal. Ensure a secure connection by tightening the terminal screws.
- Use a PV Combiner Box or DC Breaker: For added safety, connect a PV combiner box or DC breaker between the solar panels and the inverter. This helps protect the system from overcurrent and allows for easier maintenance.
- Connecting the AC Input and Output
- Identify the AC Terminals: Locate the AC input and output terminals on the inverter. These are usually labeled for single-phase or three-phase connections.
- Prepare the AC Wires: Strip the ends of the AC wires to expose the conductive material. Use wires of the appropriate gauge to handle the current and ensure they are properly insulated.
- Connect the AC Input: For single-phase systems, connect the live (L), neutral (N), and ground (G) wires to the corresponding terminals on the inverter. For three-phase systems, connect the R, S, T, and ground (G) wires.
- Connect the AC Output: Connect the AC output wires from the inverter to the pump motor. Ensure the connections are secure and match the wiring diagram provided in the manual.
- Safety Precautions: Ensure all connections are tight and insulated to prevent short circuits. Do not connect a breaker between the inverter AC output and the pump motor.
- Wiring Guidelines and Safety Precautions
- Use Appropriate Wire Gauges: Use wires that can handle the current specified in the manual. Incorrect wire gauge can cause overheating and reduce system efficiency.
- Secure All Connections: Ensure all wire connections are secure and insulated to prevent accidental contact and short circuits.
- Label Wires: Label each wire to avoid confusion during maintenance and troubleshooting.
- Follow Local Electrical Codes: Adhere to local electrical codes and standards to ensure safety and compliance.
Configuring the Inverter
- Setting Up Parameters
- Access the Control Panel: Power on the inverter and access the control panel. Use the keypad to navigate through the menu options.
- Input Necessary Settings: Set the working time, hybrid/stop parameters, dry-run detection, and other necessary parameters as per the manual. Refer to the user manual for detailed instructions on setting each parameter.
- Password Protection: Some settings may require a password for access. Enter the initial password provided in the manual to access these settings.
- Using the Control Panel
- Familiarize with the Functions: Understand the functions of each button on the control panel, including the LCD display, keypad buttons (Esc, Up, Down, Enter), and indicator lights (Power, Run/Stop, Error).
- Navigating the Menu: Use the Up and Down buttons to scroll through the menu options and the Enter button to select a menu item. The Esc button can be used to exit a menu or cancel an operation.
- Monitoring the Status: Regularly check the inverter’s status on the LCD display, including input voltage, current, solar power, AC output frequency, and any warnings or errors.
- Testing the Connections
- Measure DC and AC Input Voltages: Use a multimeter to measure the DC and AC input voltages to ensure they are within the allowed ranges specified in the manual.
- Power On the Inverter: Switch on the DC and AC breakers to power on the inverter. Observe the LCD display for any error messages or warnings.
- Initial Test Run: Conduct an initial test run to ensure the system is operating correctly. Check for proper water flow from the pump and verify that all sensors and settings are functioning as expected.
Tank and Borehole Sensors Installation
- Installing Tank Sensors
- Connect the Tank Sensor: Plug the tank sensor connector into the inverter’s tank socket. Use extension wires if necessary, ensuring they are waterproof and of the recommended gauge.
- Float Switch Installation: Connect the float switch to the tank sensor to detect water levels accurately. The float switch should have two wires, one for high water level detection and one for low water level detection.
- Wiring the Float Switch: Connect the float switch wires to the corresponding terminals on the tank sensor connector. Ensure the connections are secure and insulated to prevent water ingress.
- Installing Borehole Sensors
- Connect the Borehole Sensor: Plug the borehole sensor connector into the inverter’s borehole socket. Use extension wires if necessary, ensuring they are waterproof and of the recommended gauge.
- Sensor Probe Installation: Install the sensor probes at the correct depths to detect water levels. The probes should be placed at the bottom, middle, and top of the borehole.
- Wiring the Sensor Probes: Connect the sensor probe wires to the corresponding terminals on the borehole sensor connector. Ensure the connections are secure and properly insulated.
- Wiring and Configuration
- Follow Wiring Diagrams: Refer to the wiring diagrams provided in the manual for detailed instructions on wiring the tank and borehole sensors.
- Configure Sensor Settings: Access the inverter’s control panel to configure the sensor settings. This includes setting detection times, restart times, and other parameters to ensure accurate water level detection.

Maintenance and Troubleshooting
- Regular Maintenance Tips
- Annual Inspections: Perform annual checks on all wires and connections to ensure they are functional and securely attached. Look for signs of wear, corrosion, or damage.
- Cleaning the Inverter: Regularly clean the inverter and surrounding area to prevent dust accumulation, which can affect cooling and performance.
- Software Updates: Check for firmware or software updates for the inverter and apply them as needed to improve performance and fix any bugs.
- Common Issues and Solutions
- Low Water Flow: If the pump is delivering low water flow, check the wiring and connections to ensure they are correct. Verify that the solar panels are providing sufficient power.
- Error Codes: Refer to the manual’s troubleshooting section for specific error codes and their solutions. Common issues include phase loss, overcurrent, and sensor faults.
- Sensor Issues: If the sensors are not detecting water levels correctly, check the wiring and connections. Ensure the sensors are installed at the correct depths and are free from debris or obstructions.
- Advanced Troubleshooting
- Voltage and Current Measurements: Use a multimeter to measure the voltage and current at various points in the system to diagnose issues.
- Inverter Diagnostics: Access the inverter’s diagnostic menu to view error logs, system status, and other information that can help identify the problem.
- Professional Assistance: If you encounter complex issues that cannot be resolved through basic troubleshooting, seek professional assistance from a qualified technician or the inverter manufacturer.

Summary
In summary, following these steps meticulously ensures a successful installation of your solar pump inverter, leading to efficient and long-lasting operation. Regular maintenance and adherence to safety protocols are crucial for optimal performance. Ensuring a well-ventilated installation environment, proper electrical connections, accurate sensor installation, and regular maintenance checks will help in achieving the best performance from your solar pump inverter.