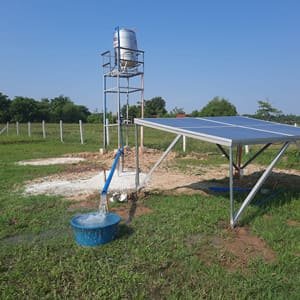
Solar water pumps provide an eco-friendly and efficient way to use renewable energy for irrigation, drinking water, or other water supply needs. However, these systems can sometimes run into issues ranging from electrical faults to physical blockages. Troubleshooting these problems can often restore the system’s functionality without professional help. This guide will help both DIY enthusiasts and professionals troubleshoot common solar pump issues step-by-step.
1. Check the Power Supply
One of the first things to do when your solar pump isn’t working is to check the power supply. This step involves inspecting various components to ensure the system is receiving sufficient power.
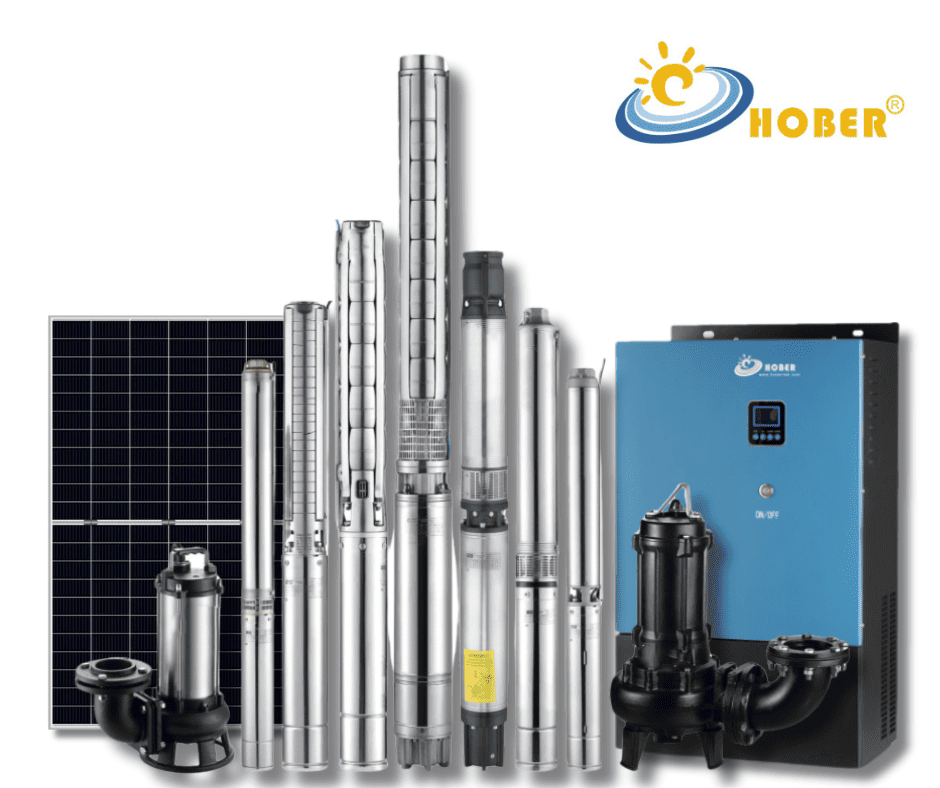
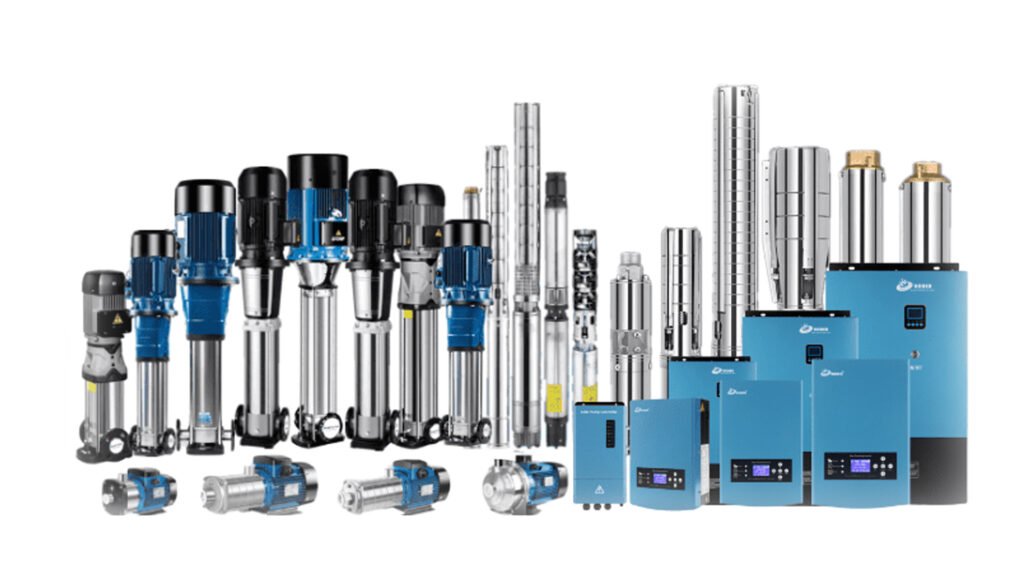
- Solar Panels: Begin by testing the solar panels using a multimeter to check the voltage output. If the voltage is lower than expected, there could be insufficient sunlight or a problem with the panels themselves. Clean any dust or dirt from the panels and ensure they are positioned to receive full sunlight.
- Pump Cable and PV Cable: The pump and PV cables are critical to delivering power from the solar panels to the pump. Check both cables for any faults, such as damaged insulation or broken wires, which could interrupt power delivery. Make sure that the cables are securely connected to prevent disconnections.
- Electricity Reactor for Long Cables: If the pump cable exceeds 150 meters, it’s essential to install an electricity reactor to stabilize the current and prevent power loss. Without this reactor, the voltage may drop significantly over the long cable, leading to insufficient power reaching the pump. If your pump is experiencing intermittent power issues, check for this installation if the cable is over 150 meters.
2. Inspect the Water Sensor
The water sensor plays a vital role in solar pump systems by detecting water levels and controlling the pump’s operation. If the sensor is malfunctioning, it may prevent the pump from starting, even if there is sufficient water.
- Cleaning the Sensor: Sometimes, the water sensor can be obstructed by dirt or debris, leading to incorrect readings. Clean the sensor to ensure it can accurately detect the water level.
- Replacing Faulty Sensors: If the sensor isn’t functioning even after cleaning, it may be faulty and require replacement. A damaged sensor can cause the pump to either not start or stop prematurely, especially when there’s still water in the system.
3. Examine the Pipes and Connections
Water flow issues are often related to problems in the pipe system. Blockages, leaks, or airlocks can significantly reduce the efficiency of your solar pump.
- Blocked Inlet: Debris like dirt, algae, and sand can build up in the inlet and cause the pump to underperform or stop working altogether. Regular cleaning of the inlet and filters will help prevent these blockages from occurring.
- Leaks in the Pipe System: Small leaks in the inlet or outlet pipes can drastically reduce water flow and pressure. Inspect the pipes and all connections carefully for any leaks, cracks, or loose joints. Repair or replace any damaged pipes to restore normal water flow.
4. Clean the Pump and System
A dirty or clogged pump can result in reduced water flow or complete failure. Regular cleaning is crucial to keeping your solar pump system running smoothly.
- Cleaning the Pump Inlet and Filters: The inlet is where water enters the pump, and it can become clogged with debris over time. Clean the inlet with a soft brush and water, ensuring that any buildup is removed. Filters should also be checked and cleaned regularly to prevent blockages.
- Inspect the Impeller: The impeller is a rotating component that moves water through the system. Dirt and grime can accumulate here, reducing efficiency. Clean the impeller and ensure that it rotates freely.
- Flush the System: In systems that use multiple pipes and filters, performing a full system flush can remove sediment and debris that may be affecting performance.
5. Replace Worn or Damaged Parts
Over time, parts of the solar pump can wear out and need to be replaced to maintain optimal performance. Regular inspection will help identify these worn parts before they cause more significant problems.
- Worn Impeller: The impeller can wear out from constant use, leading to a reduction in water flow. If the impeller is visibly worn or damaged, it will need to be replaced to restore the pump’s efficiency.
- Seals and Bearings: Over time, the seals and bearings that prevent water from leaking into sensitive parts of the pump may wear out. If these parts are damaged, the pump may not operate smoothly, or leaks may develop. Replace any worn seals or bearings to prevent further damage.
6. Troubleshoot Pump Controller and Error Codes
Many solar pump systems come with a controller that helps manage the pump’s operation and protect it from damage. These controllers may display error codes that can help diagnose problems with the system.
- Low Voltage Error: This error typically occurs when the solar panels are not generating enough power, either due to poor sunlight or faulty wiring. Ensure that the solar panels are clean and receiving direct sunlight, and check the wiring for any loose connections or damage.
- Overcurrent Protection: If the pump is drawing too much power, it could trigger an overcurrent protection mechanism, shutting down the system. This could be due to a blockage in the pipes, an issue with the pump motor, or faulty wiring. Clear any blockages and inspect the pump for mechanical issues.
- Water Sensor Error: If the water sensor detects low water levels even when the system has water, it may prevent the pump from turning on. Check the sensor for dirt or debris and replace it if necessary.
7. Test the Entire System
Once you’ve gone through the troubleshooting steps, it’s important to test the system to ensure that everything is functioning as expected.
- Solar Panel Test: Use a multimeter to test the voltage output of the solar panels. If the voltage is low, check for shading on the panels or any issues with the panels themselves.
- Pump Operation Test: Manually turn on the pump and monitor the water flow. If the flow is weak or inconsistent, there could still be a blockage in the pipes or the pump may need further cleaning. Ensure the impeller and seals are in good condition.
- Check Water Sensor and Controller: Ensure the water sensor is correctly detecting water levels and that the pump is responding appropriately. The controller should display normal operating conditions, without any error codes.
Summary:
Solar pumps are reliable but can run into common issues like clogged inlets, electrical faults, or malfunctioning sensors. Regular inspection and maintenance are key to avoiding these problems. If the pump cable exceeds 150 meters, installing an electricity reactor is essential to prevent voltage loss. By following these troubleshooting steps, you can identify and fix most issues, ensuring your solar pump runs efficiently for years to come.